
Restoration, 2002
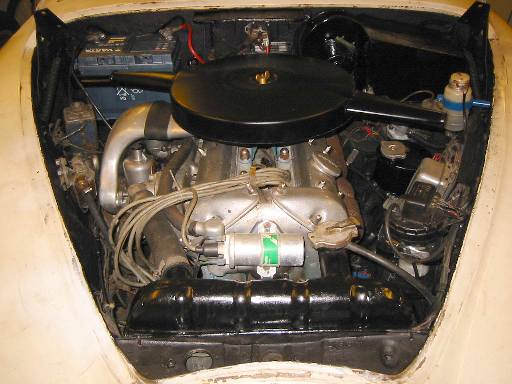
New year started by painting engine bay, heater
box, radiator and and some other parts black. Previous painter had painted
heater box's 'car-screen' flap axle solid jammed, so I had to work that out and
oil the cables. Now it moves fine. I also installed a main switch for battery
plus cable (not showing in the picture), easier now to disconnect battery.
Engine still needs cam cover and carburetor polishing and wire replacement,
arrangements.

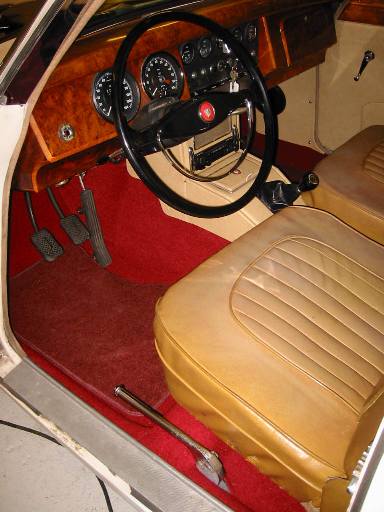
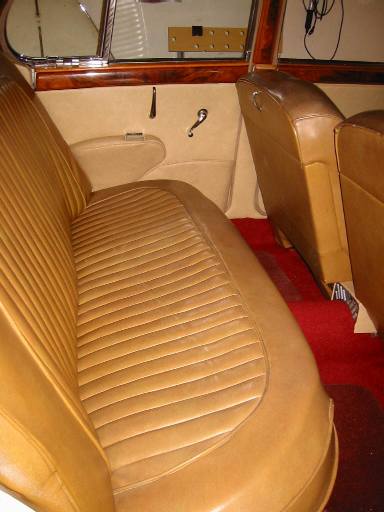
Do I seem to be jumping between different parts of car? I guess I am! Well, sometimes I get bored to 'grease' jobs and do some clean interior things and then I remember that if I want to get this car back on the road again I need to do the dirty ones too, so back on them and so on.
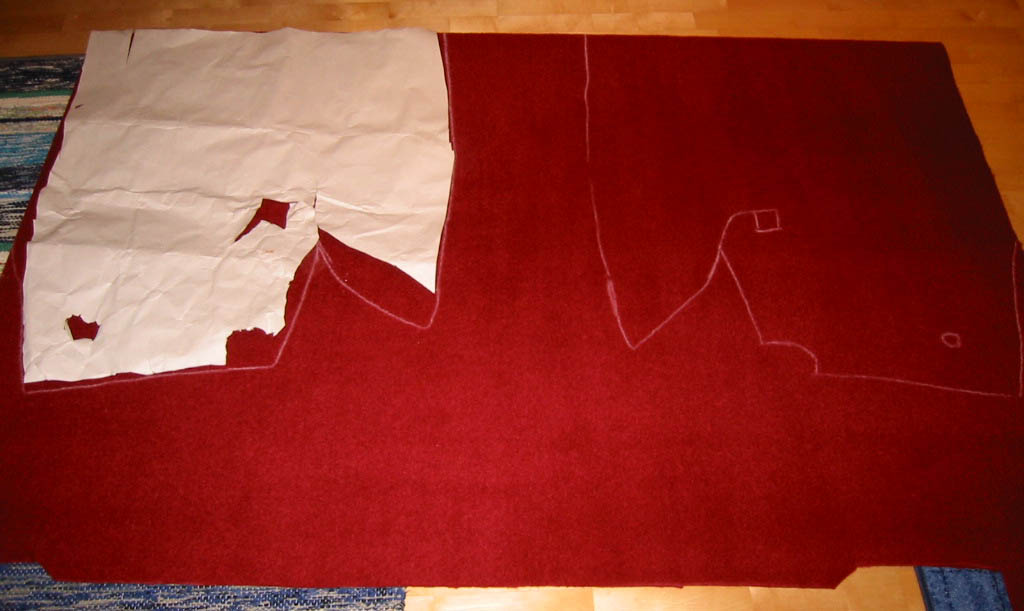
Now it was turn of interior and I made new rear
quarter panels(?), the old ones were dirty and cardboard swollen and bent by
water. I also cut new carpets according to paper templates which I did in car by
throwing some paper in and cutting extras off... Actually it worked quite well
and I'm satisfied to the result, although professional upholsterer might have a
word or two... But for me making those myself is more important than buying
ready made ones. Not because of cost but because I want to try myself! Then I
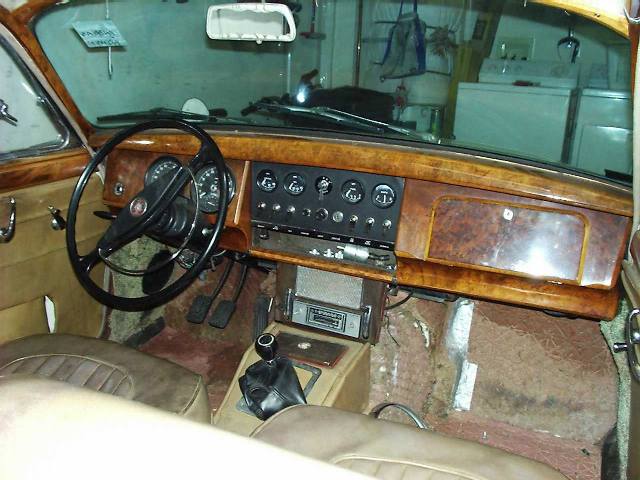
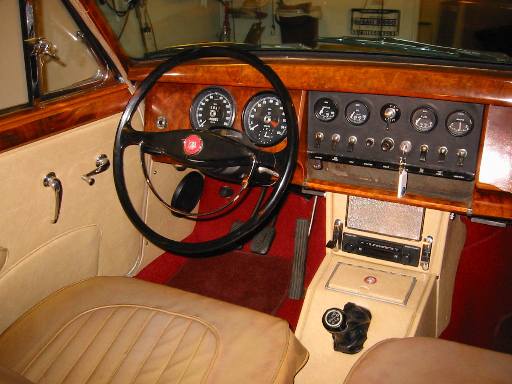
installed carpets and panels made earlier. See results in the Before-After
pictures below! Use your browser Open picture to get bigger picture. The seats
need new leather but I'll do that later. And luckily roof lining does not show
in the pictures as it is pretty dirty. I'll do that when windows go out for
painting the chassis. Some day...
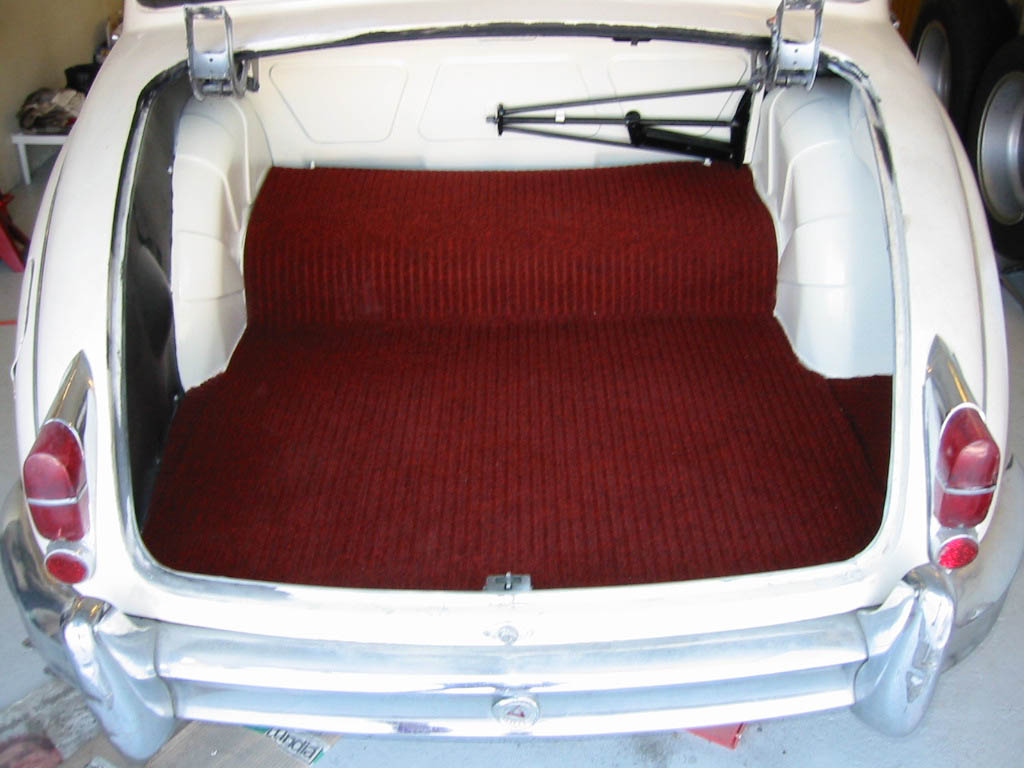
The boot had some surface rust and side panels
were broken. I forgot to take before picture, but here is after. The carpet is
not original Hardura one, but just normal floor carpet, fine for me. I found it
easier to repair and repaint side panels than make new ones. The seal is missing
(as well as the whole lid!), I'll add the seal after painting and lid is under
work, new number plate light chrome housing ordered as the old one is broken and
lacks some parts required to hold the reverse light class.
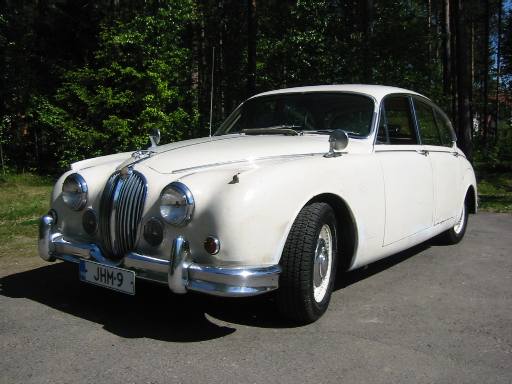
On May 2nd, I took the car to the mechanical
check required before registration, kind like an MOT in UK. They check brakes,
steering, joints, rust, papers etc. My Jaguar did not pass, because of:
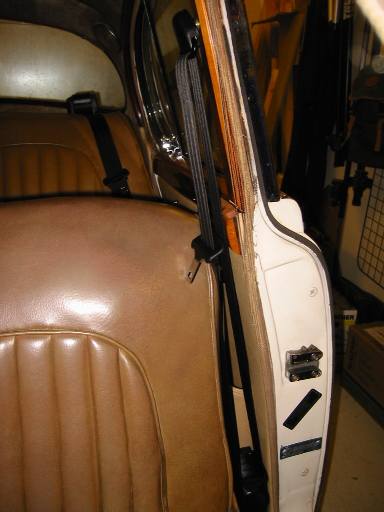 Now that the car is a driver, I thought it needed seat
belts. I'm pretty sure the safety thinking at Jaguar on 1950-60 was not quite at
a level it is in my 1999 Volvo, so having at least seatbelts would be something.
My car is 1961, so there was not even seat belt fastening holes. I ordered new
seatbelts from Finnish seatbelt company (Turvavyö OY). Then I had one guy to
weld a B pillar fastening plate (see repairs/dead radio for what
else happened in that welding!) and drilled holes to other fastenings by myself.
Of course you have to make a hole to B pillar wood also. Otherwise all was
pretty simple but rear seat belt roll on rear parcel shelf is quite difficult to
fasten as the rear window is so close that there is not much space for spanner
and through boot it is even more difficult. But I got some more space by pulling
all the belt out from the roll. And in front mid fastening you need somebody to
help as your arms are not long enough to keep nut under the car (propshaft
tunnel) and tighten the bolt inside the car! But now I have fine seat belts. I
wish I also had neck support for possible rear collision...
Now that the car is a driver, I thought it needed seat
belts. I'm pretty sure the safety thinking at Jaguar on 1950-60 was not quite at
a level it is in my 1999 Volvo, so having at least seatbelts would be something.
My car is 1961, so there was not even seat belt fastening holes. I ordered new
seatbelts from Finnish seatbelt company (Turvavyö OY). Then I had one guy to
weld a B pillar fastening plate (see repairs/dead radio for what
else happened in that welding!) and drilled holes to other fastenings by myself.
Of course you have to make a hole to B pillar wood also. Otherwise all was
pretty simple but rear seat belt roll on rear parcel shelf is quite difficult to
fasten as the rear window is so close that there is not much space for spanner
and through boot it is even more difficult. But I got some more space by pulling
all the belt out from the roll. And in front mid fastening you need somebody to
help as your arms are not long enough to keep nut under the car (propshaft
tunnel) and tighten the bolt inside the car! But now I have fine seat belts. I
wish I also had neck support for possible rear collision... 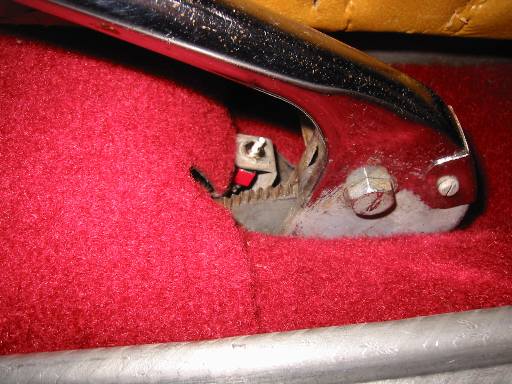 Handbrake/brake fluid level
warning light in dash was always on, so now was time to correct that one. I
started from handbrake switch, which I found to be broken and it is not
serviceable. So I replaced it with a smaller switch bought from electronics shop
and I adjusted the switch so that it lits the warning light as soon as hand
brake lever is moved from rest position.
Handbrake/brake fluid level
warning light in dash was always on, so now was time to correct that one. I
started from handbrake switch, which I found to be broken and it is not
serviceable. So I replaced it with a smaller switch bought from electronics shop
and I adjusted the switch so that it lits the warning light as soon as hand
brake lever is moved from rest position. 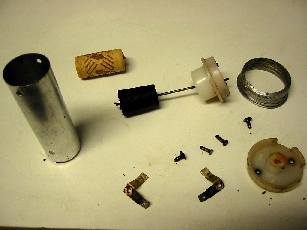 Then I moved to brake fluid sensor, which gave alert even
when container was full of fluid. The sensor looks unserviceable, but actually
the rivets are screws. So if you grind slots to them, you can screw them out.
The float appeared to be normal cork, which propably has soaked so much fluid
during 40 years that it did not float any more. And then comes the joyful part:
where can you get a new cork? From wine bottle of course! And a bottle without
cork goes bad quickly, so of course you have to drink it! Best repair ever!
Restoring a car is fun! New cork in place, everything back together and works
perfect.
Then I moved to brake fluid sensor, which gave alert even
when container was full of fluid. The sensor looks unserviceable, but actually
the rivets are screws. So if you grind slots to them, you can screw them out.
The float appeared to be normal cork, which propably has soaked so much fluid
during 40 years that it did not float any more. And then comes the joyful part:
where can you get a new cork? From wine bottle of course! And a bottle without
cork goes bad quickly, so of course you have to drink it! Best repair ever!
Restoring a car is fun! New cork in place, everything back together and works
perfect.
 Oct 15th the driving season ended and I took the car off
insurance and started to prepare it for paint stripping and repaint by removing
all chrome and lamps etc.
Oct 15th the driving season ended and I took the car off
insurance and started to prepare it for paint stripping and repaint by removing
all chrome and lamps etc.
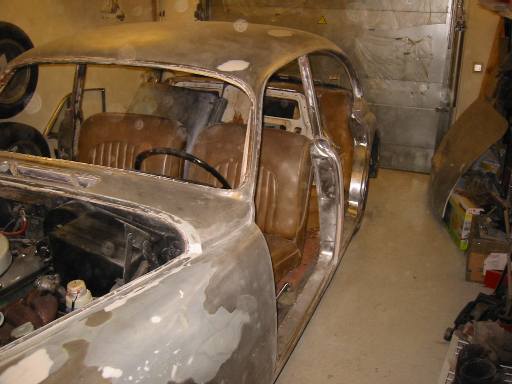
 Paint stripping ongoing, also
interior stripped for easier repaint and for headliner change.
Paint stripping ongoing, also
interior stripped for easier repaint and for headliner change.
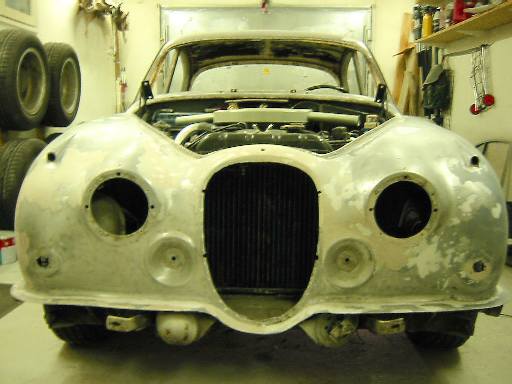 Paint stripped, some bondo for dents.
 Bare metal (and bondo). Doors
removed.
Bare metal (and bondo). Doors
removed.
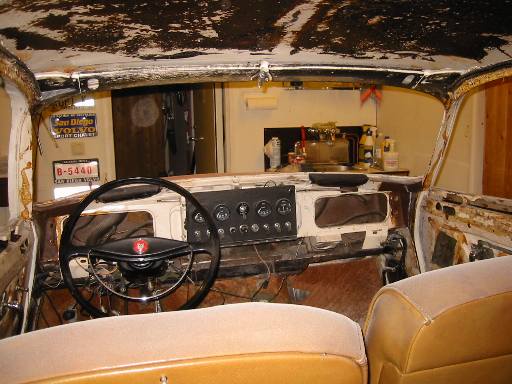
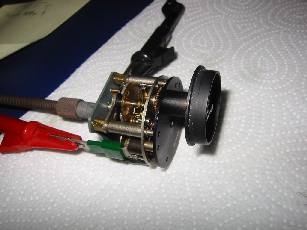 As speedo and tach were out during repaint stripping, I
looked into non-working clock and trip meter. I found nothing wrong with the
clock, just added oil and fiddled with balance wheel post and spring touching
it. The trip meter had hardened rubber jamming it. The high beam warning light
above trip meter has rubber cover on it and during the years it had hardened,
broked and fallen into trip meter jamming it. I removed the remains, oiled gears
and teeth and put it back together. Let's see if it works when I put it back
into car sometimes next spring. Or maybe I could try it with an electric drill.
Update 2004: Clock required some more work, see Repairs
As speedo and tach were out during repaint stripping, I
looked into non-working clock and trip meter. I found nothing wrong with the
clock, just added oil and fiddled with balance wheel post and spring touching
it. The trip meter had hardened rubber jamming it. The high beam warning light
above trip meter has rubber cover on it and during the years it had hardened,
broked and fallen into trip meter jamming it. I removed the remains, oiled gears
and teeth and put it back together. Let's see if it works when I put it back
into car sometimes next spring. Or maybe I could try it with an electric drill.
Update 2004: Clock required some more work, see Repairs