Restoration, 2007
Yet another
year started, clutch repair continues. And some other stuff which is convenient to do while engine out.
Clutch repair continues
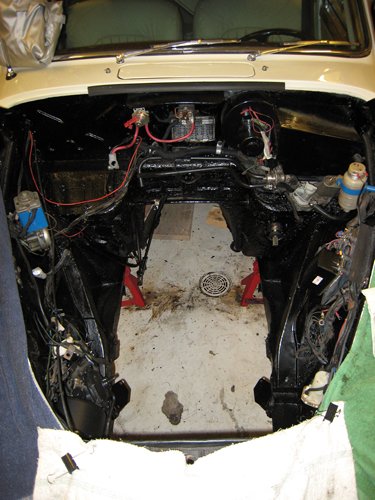 While engine out, it was
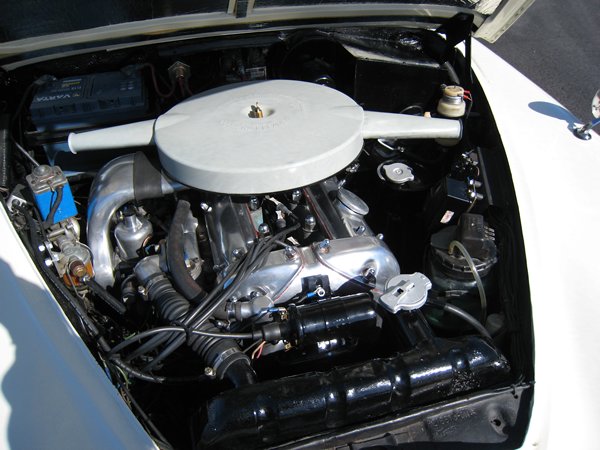
convenient to repaint the engine bay. I used black elastic rust preventing paint.
I believe my car has had similar stuff since factory as there is no chassic color visible
anywhere, just red primer and this "tar". I also taped some electrical wires where
original fabric covered ones were torn. Most of the wiring are modern plastic wires, made by PO.
At a moment I don't have an urge to convert to original fabric insulated wiring harness.
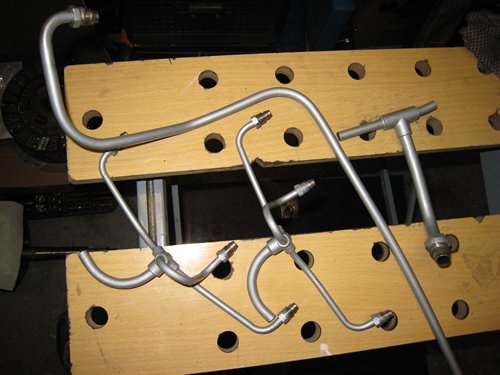 I also painted engine plumbing,
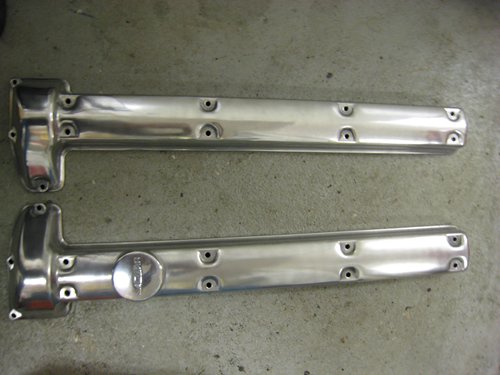
the engine itself and polished aluminum. I didn't polish the aluminum up to mirror like
finish but just to good looking shine. I thought the mirror shining cam covers would look
out-of-place in "tar" painted engine bay. This is not a shiny hot rod!
 Replacing
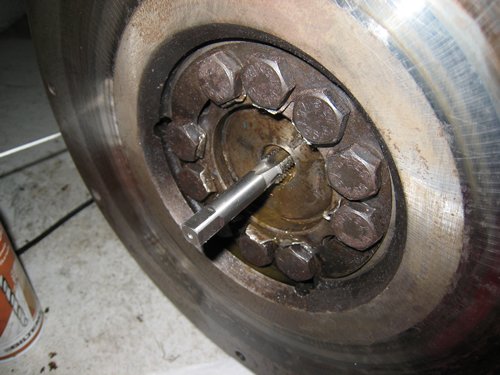
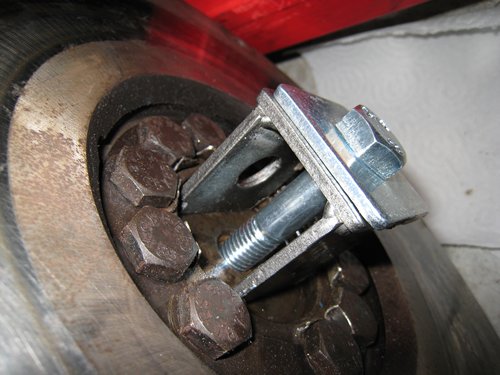
flywheel spigot (pilot) bush appeared to be a difficult task. I used
all imaginable tools to get a grip behind the bush
but with no luck. I used heat and cold. I used penetrating oil. No
luck. I considered destroying the bush to pieces by saw, drill or
something, but there is no space for power tools and I'm too lazy to
use manual ones! Finally I asked hints from Jag-lovers and Paul told to
cut threads and pull the bush out with a bolt. Fellow Jag owner Jouni
borrowed thread cutter and made a special extractor to pull the bolt
and bush out, no way to do that with bare hands. New bush went in with
the help of cold spray and lubricant. Well, finally it is replaced and
I can start putting new clutch parts back in.
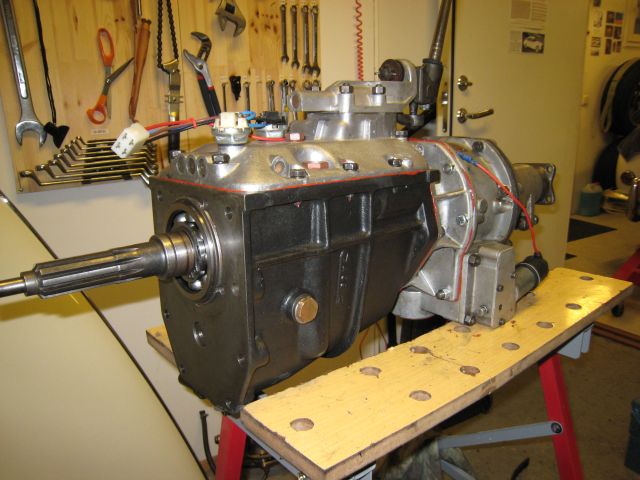 Here are gearbox and overdrive assembled. After first assembly 3rd and 4th gears did not engage. After wondering several evenings, asking hints from Jag-lovers, I finally figured out that the grease I used to help top gear stop balls to stay on during assembly prevented balls moving freely, they are planned to move in liquid oil. I removed the grease and now all gears work. Luckily I found this out before installing box back to car!
Attaching the overdrive to gearbox also turned out to be a nightmare. As the paper gaskets bought from David Manners did not fit at all, I used gasket paste instead. Which has certain time to work before it hardenes... And getting the shaft bottom splines aligned and springs tensioned was very difficult at the beginning. With "beginning" I mean first 5 evenings... Finally I figured out that in addition to have splines aligned, the springs must be tensioned (=overdrive bolts tightened) very equally from all sides of overdrive perimeter, otherwise the shaft is little bit angled and does not go in. Finally succeeded. But I put this work to position 2 of Most Difficult Jaguar Mk2 assemblies, right behind windscreen rubber and chrome assembly (see year 2003).
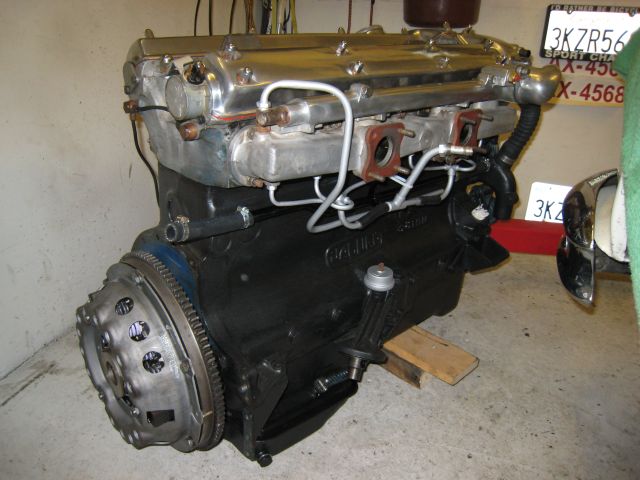 The famous XK engine cleaned, painted, aluminum polished, valves adjusted, new clutch assembled (and aligned, yes I did remember to do that!). Ready to go back in.
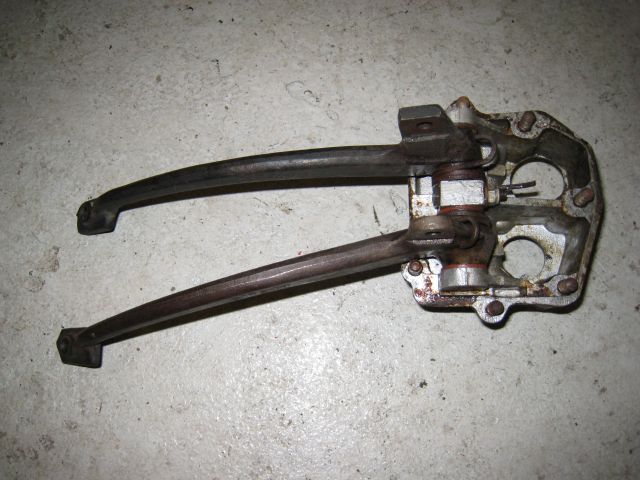 Clutch return spring was broken. Or it broke when I removed the pedal system from the car. Anyway both springs were very rusty. So I replaced them. And put new seals to clutch master cylinder, brake master's seals have been renewed recently. And then I repainted all parts and put them back to the car.
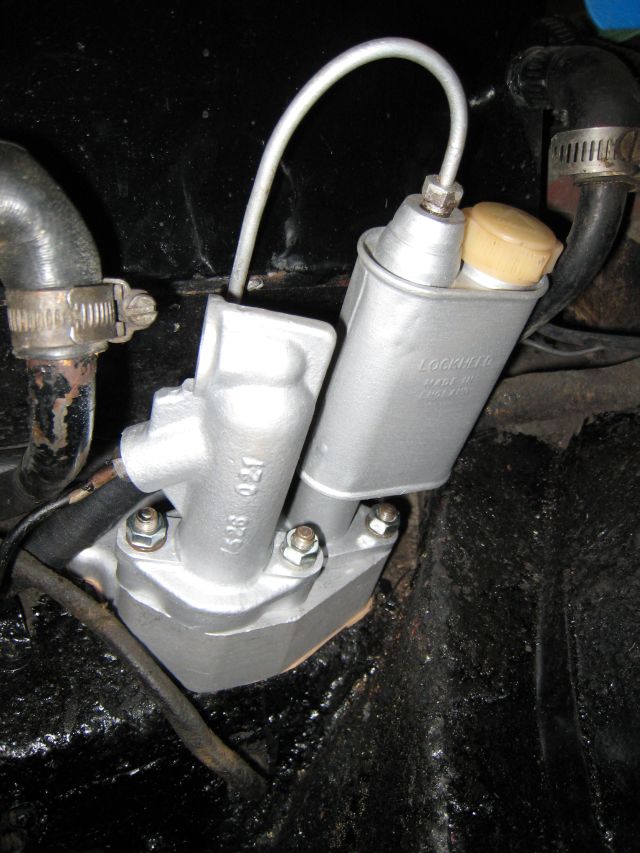
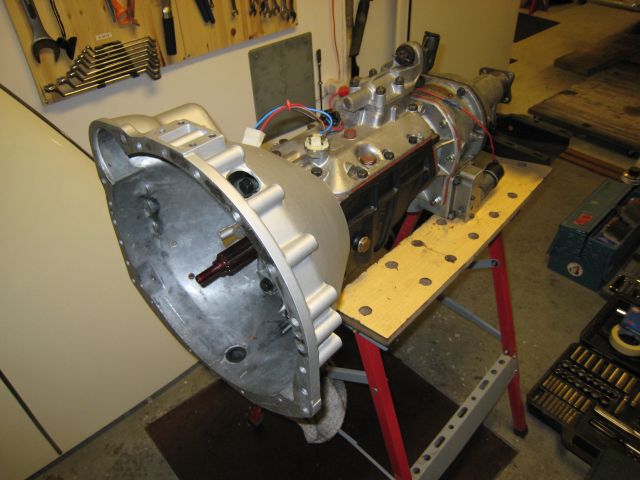 Clutch bellhousing, gearbox and overdrive ready to go in.
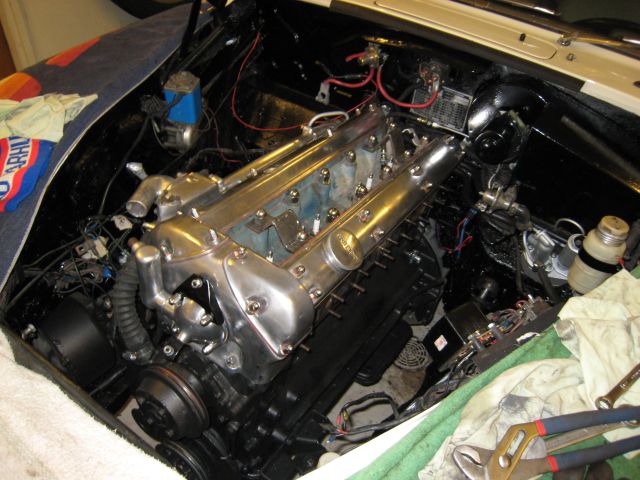 Engine, clutch and gearbox back in place. It took 5 hours from two person (thanks Jouni!) to put all back. Some of the time spent because my tiny garage required some extra operations, it was not possible to assemble everything outside and slide the whole package in, but we first put the gearbox assembly under the car, then engine from the top and put them together under the car... nice... But now everything is there and I can start putting accessories etc back.
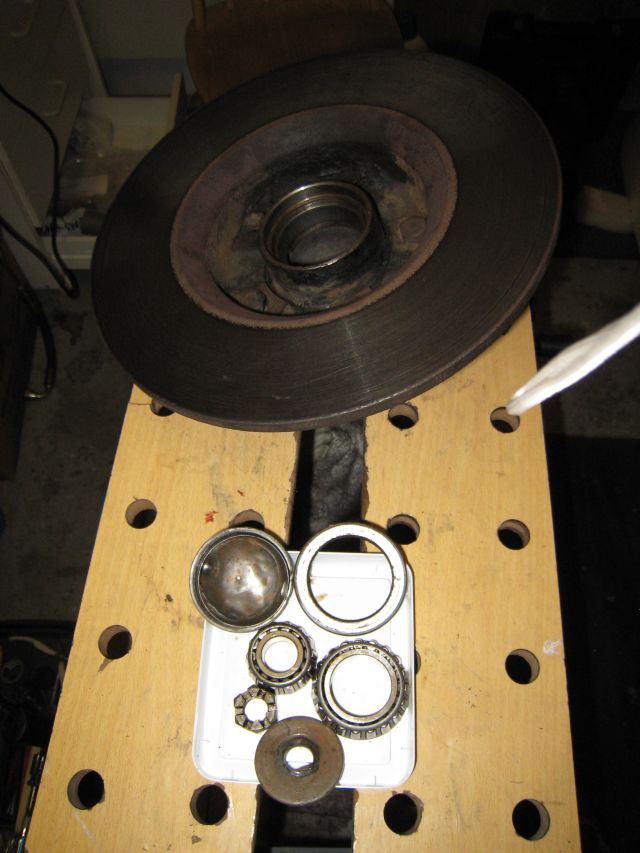
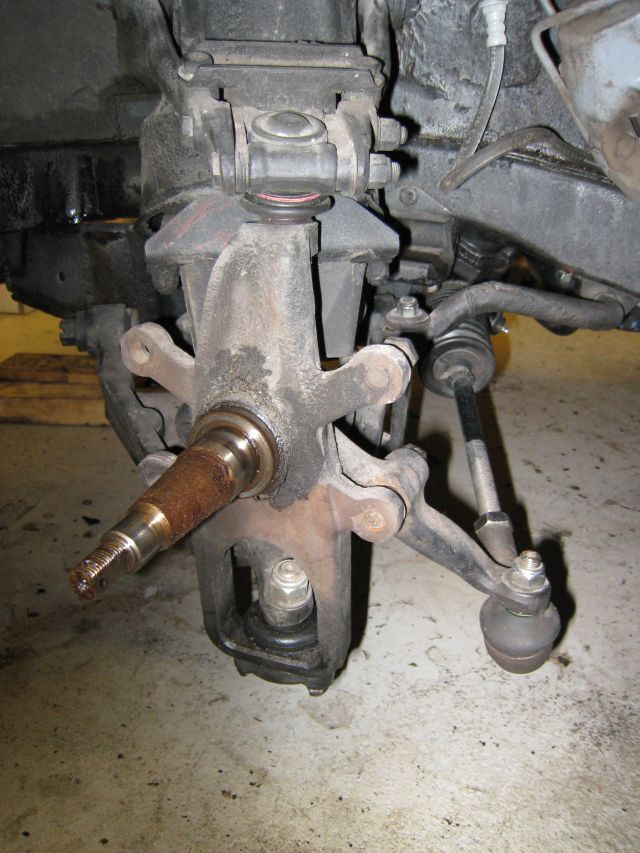 Reassembly ongoing, radiator and starter installed, after those were also painted black. Also radiator hoses installed. When installing front axle subframe back in, I notice a slight rattle from the hub bearing, so "while there" I opened them up, cleaned and put new grease in. Bearings seemed to be ok. I also serviced front brakes.
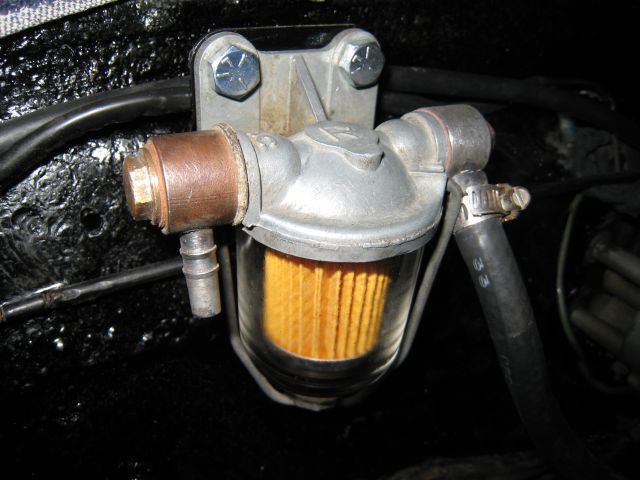
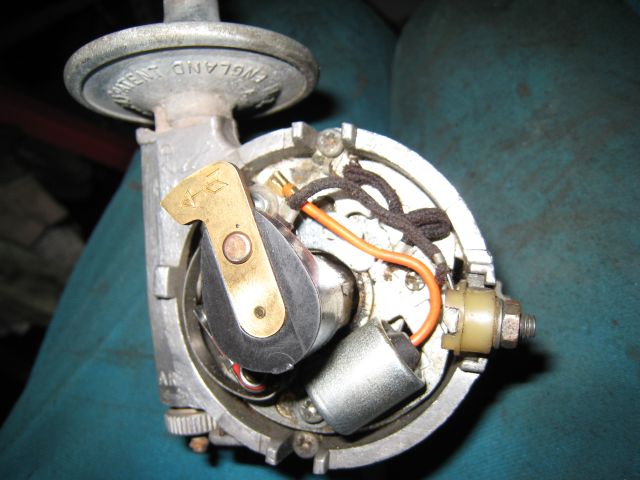 Cleaning and oiling the distributor 22D6. Points and condenser are quite resently changed, so no change this time. Installed the distributor into its place. Cleaning also the fuel filter assembly and did put a new filter in.
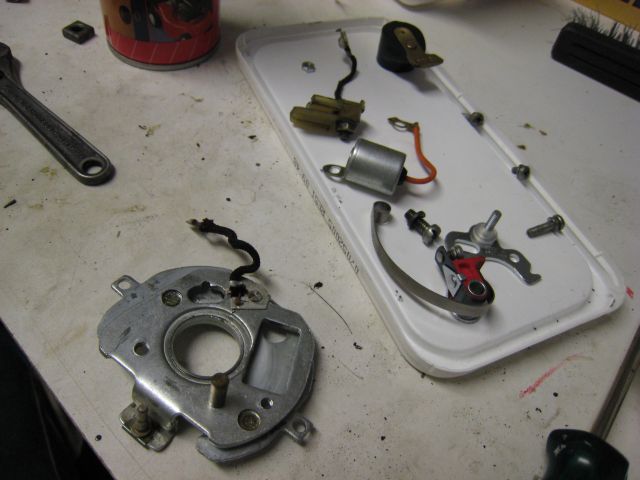
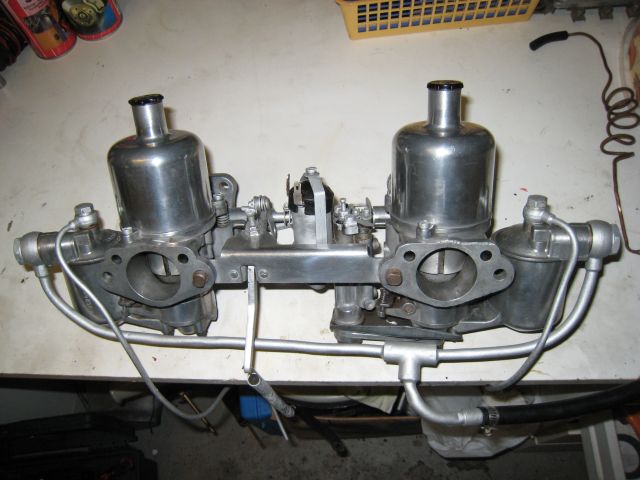 Carburettors cleaned and sligthly polished.
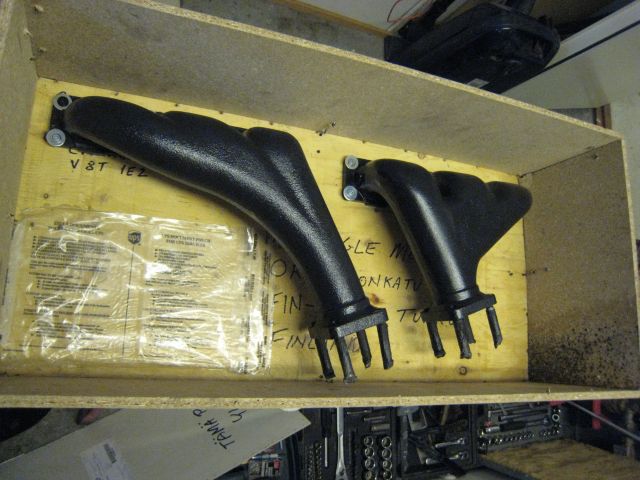 Exhaust manifolds arrived from Tech Line Coatings' Black Satin paint. Next thing is to put them back to engine.
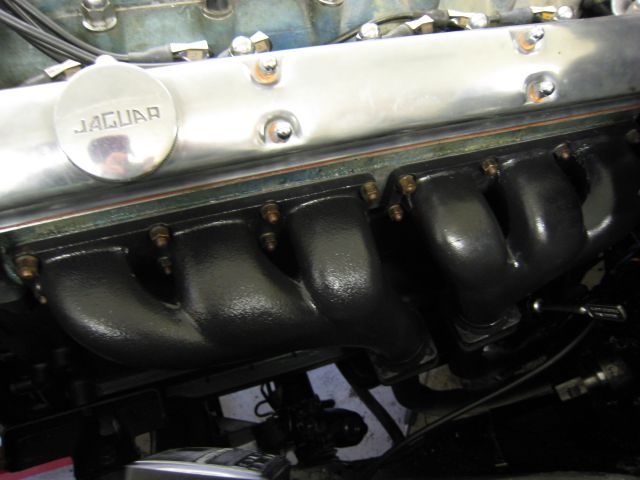 And here are exhaust manifolds installed with new gaskets. Sligth problems with fastening exhaust pipes to manifolds, but I am too shamed to tell what... let's just say that you should remove old parts before putting new ones... :)
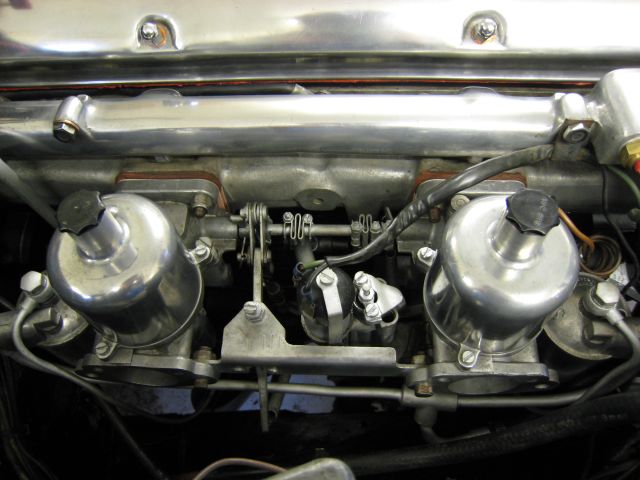 Carbs installed. New gaskets.
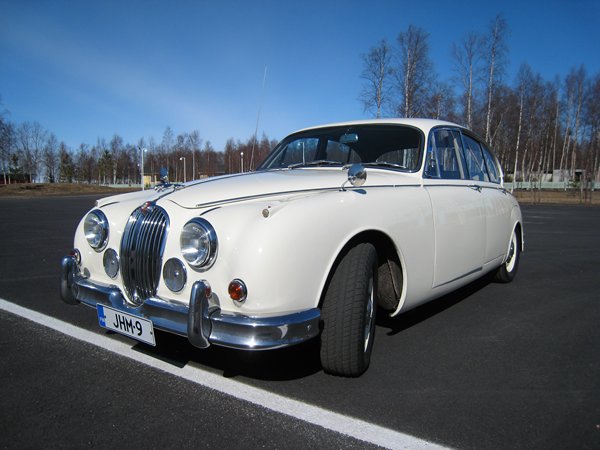 It runs again! Everything installed back and it started in 2 seconds. Didn't run long though, I had forgotten to tighten distributor and brake booster vacuum pipe was not installed. After fixing those it started again and stayed running. Clutch works as well as gears, except overdrive, had to check what is the problem there. Small leak in radiator, lets' see if it gets better or worse. UPDATE: Overdrive fixed by checking/repairing wiring.
Coombs style spats
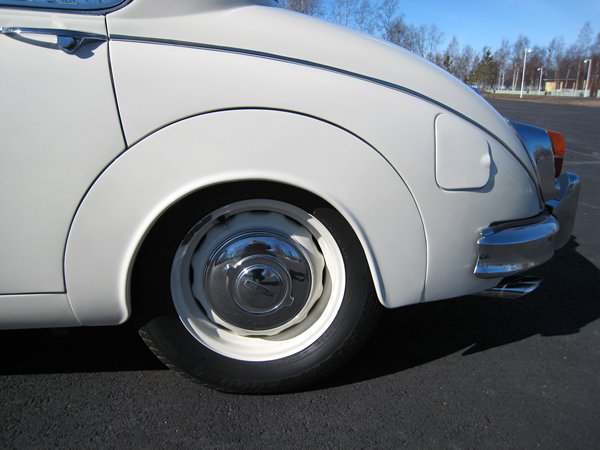
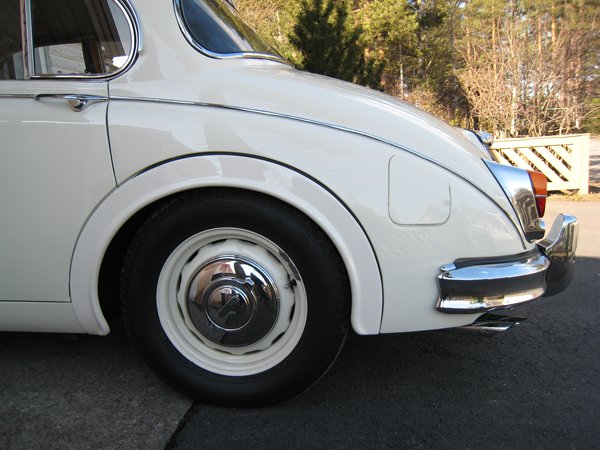
I swapped Coombs style spats in, they give lighter feel for the rear of the car. Period tuning! No plans for other Coombs modifications.
Broken distributor rotor
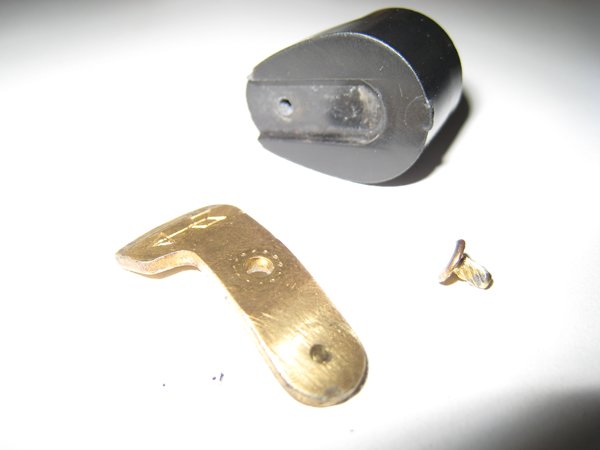 While tuning timing and carburettors, engine suddenly refused to start anymore. First I checked everything I have done and also fuel, plugs etc. Then I opened distributor and contact of the rotor was missing! The rivet had came off and the contact dropped to bottom of distributor and bent in centrifugal system. Luckily not braking anything. Maybe just bad luck, but I have lost my trust to David Manners part quality. See this.
Just driving through the summer
Summer went just driving, no problems, car works better than ever (in my posession) and seems to get better when used. Here is a picture of one local Jaguar meeting, not too many participants...