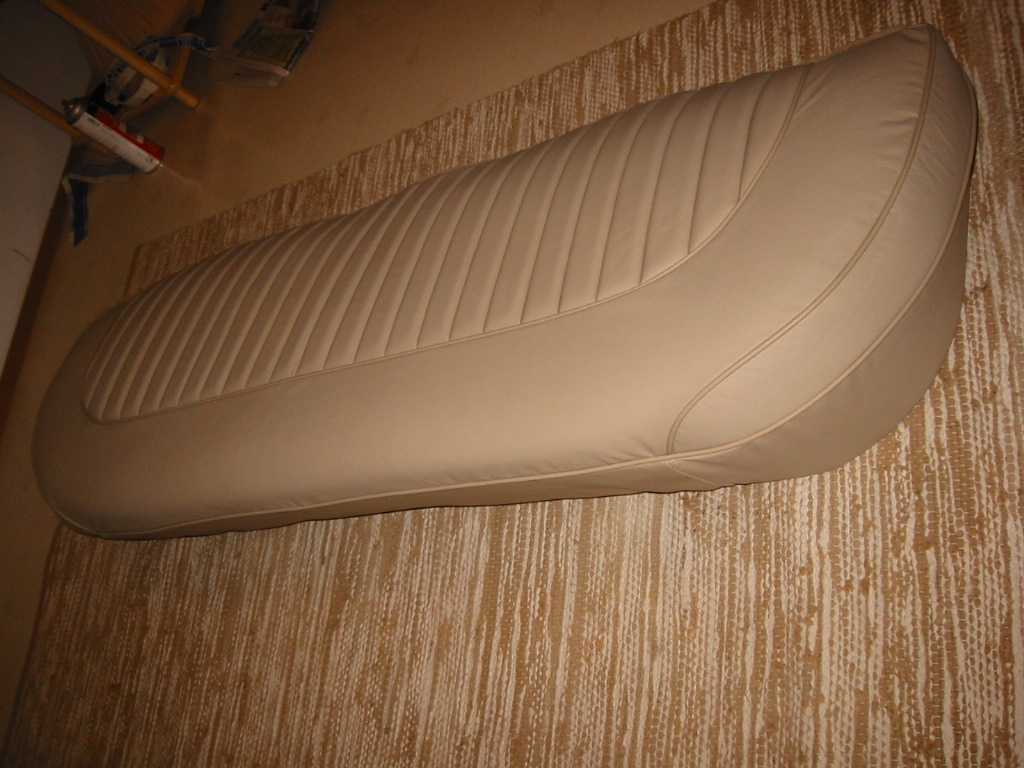
Restoration, 2005
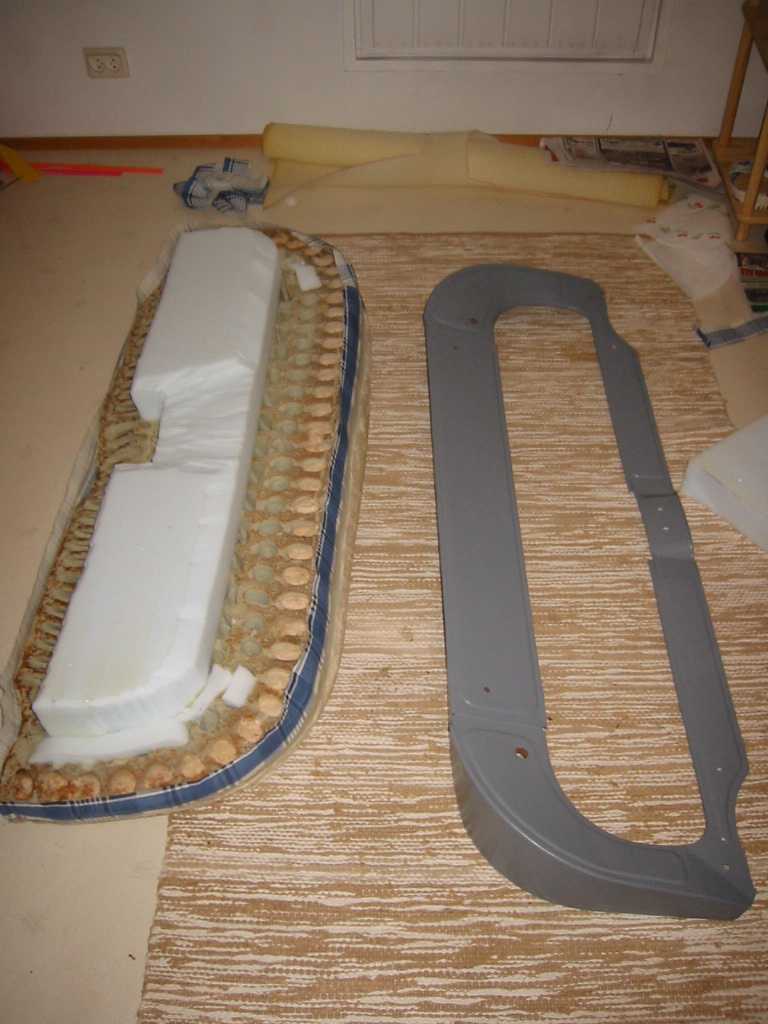
I began to install before Xmas arrived leathers
to the seats. First backseat, in a hope that if I make some mistakes in the
beginning, they won't show from the back as well as from front seats.
Metal seat frame had some surface rust in it, mostly where glue was been, maybe
the glue is water absorbing or something. Actually seat frame was one of the most rusted
items in this ex-California car! Well, little bit
steel brush, sanding paper and new paint and it's fine. A also renewed some of the
cushing but tried to save as much original as possible, for future restorer to wonder.
Some of the foam has dried to crumbs, so I put new foam to those parts. Have to fine
tune the amount of new foam when installing the seat.
Next thing is to glue the foam to frame and put the leather cover on. Let's see...

And here is the backseat with new leather. Couple of wrinkles left, maybe I still have to retension the leather or add more thin foam under.
Next one is the backrest, which is more challenging with a center armrest mechanism. But I'm almost professional upholsterer now...
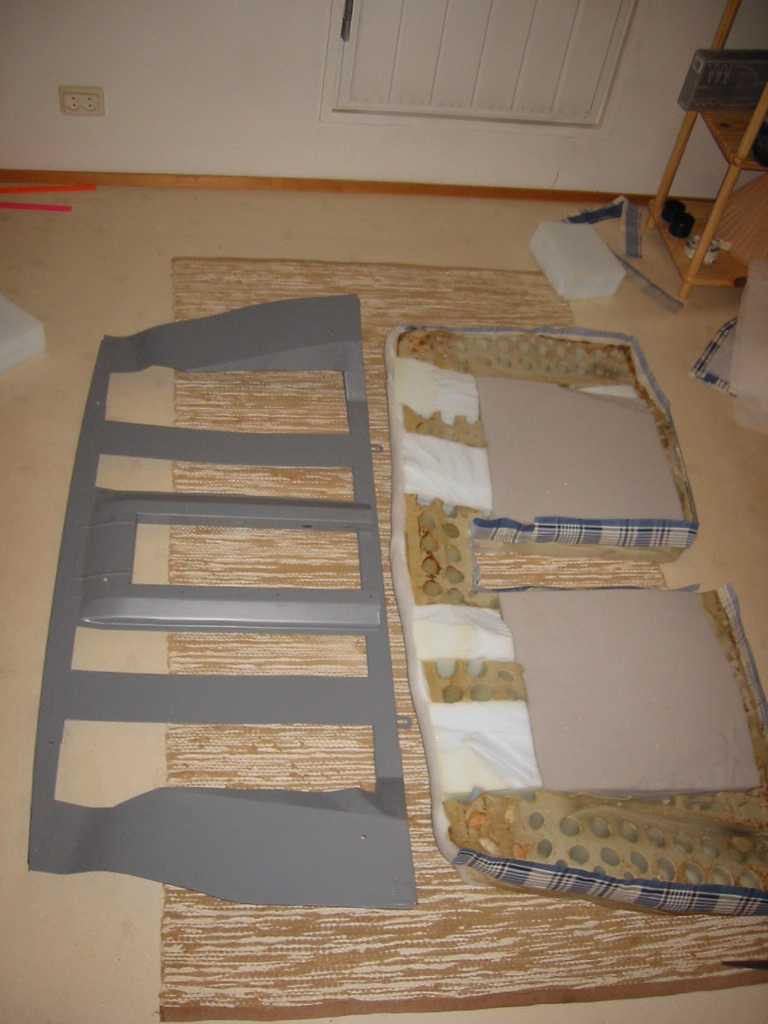
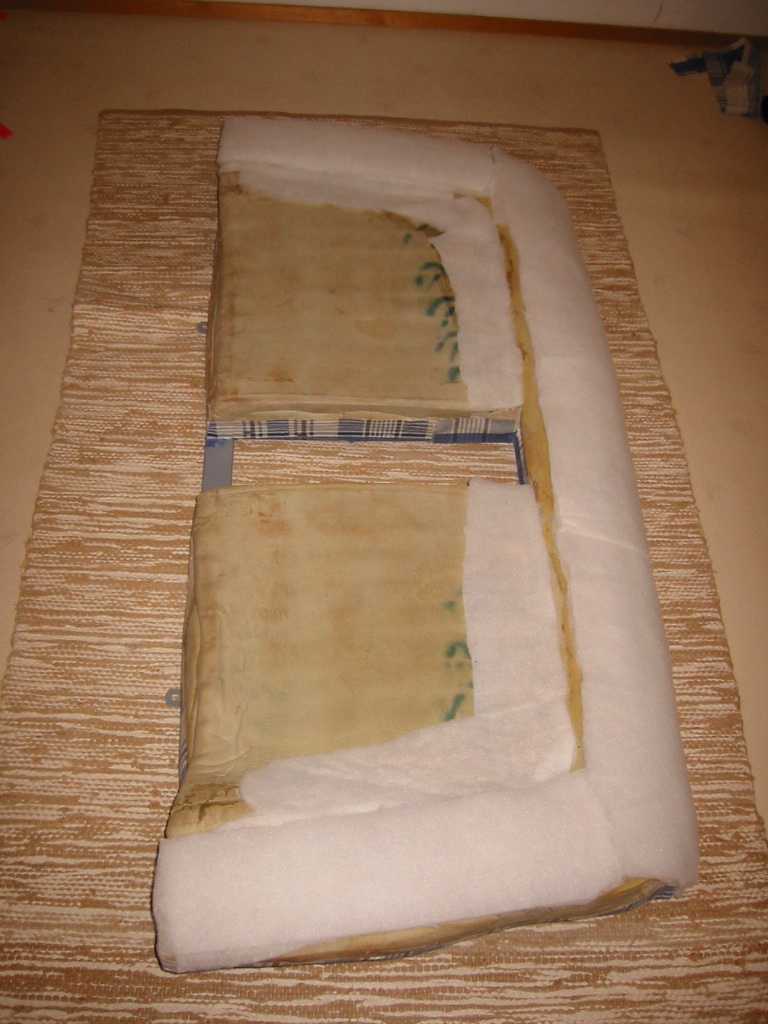
The backrest frame was also in surface rust, so I cleaned and repainted it. The foam had dried in crumbs in all areas exposed to air but almost excellent in the ones covered with tin frame. Weird. I replaced all dried foams and added thin foam to some areas to give more hefty feel.
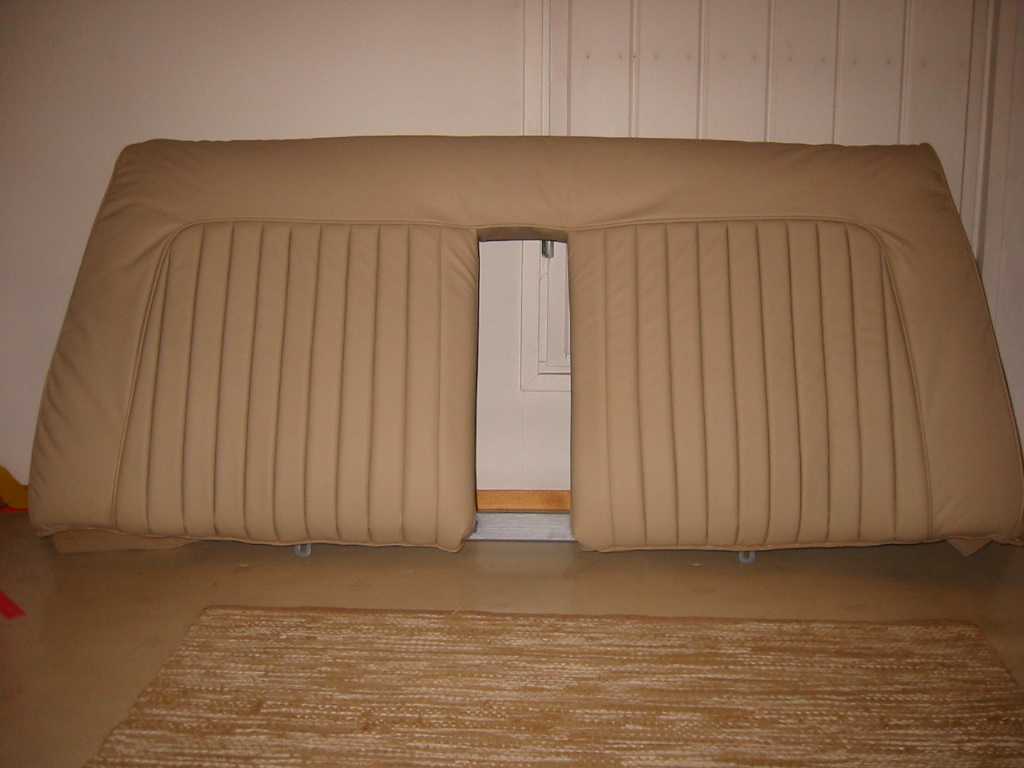
And here is the backrest with new leather. Some wrinkles... I'm not totally satisfied with this one, have to consider if it needs to be redone. New glue I was using for the top edge (can't use metal fasteners there because they stay visible) was surprisingly quick and it stuck at first contact. I was prepared for a short adjustment time like with previous glue I was using. Maybe I'm not a pro in this yet...
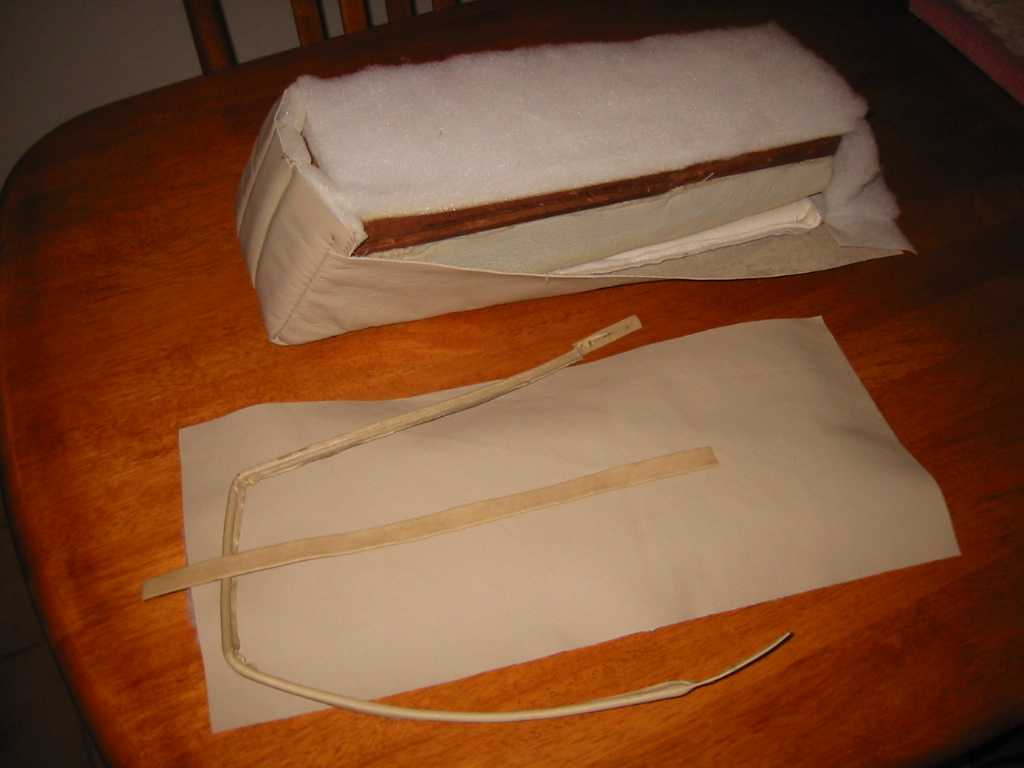
Here is rear center armrest material. Pretty challenging as none of fastening nails should be visible. Luckily I was able to see how it should be done when dismantling the old material. Wish me luck...
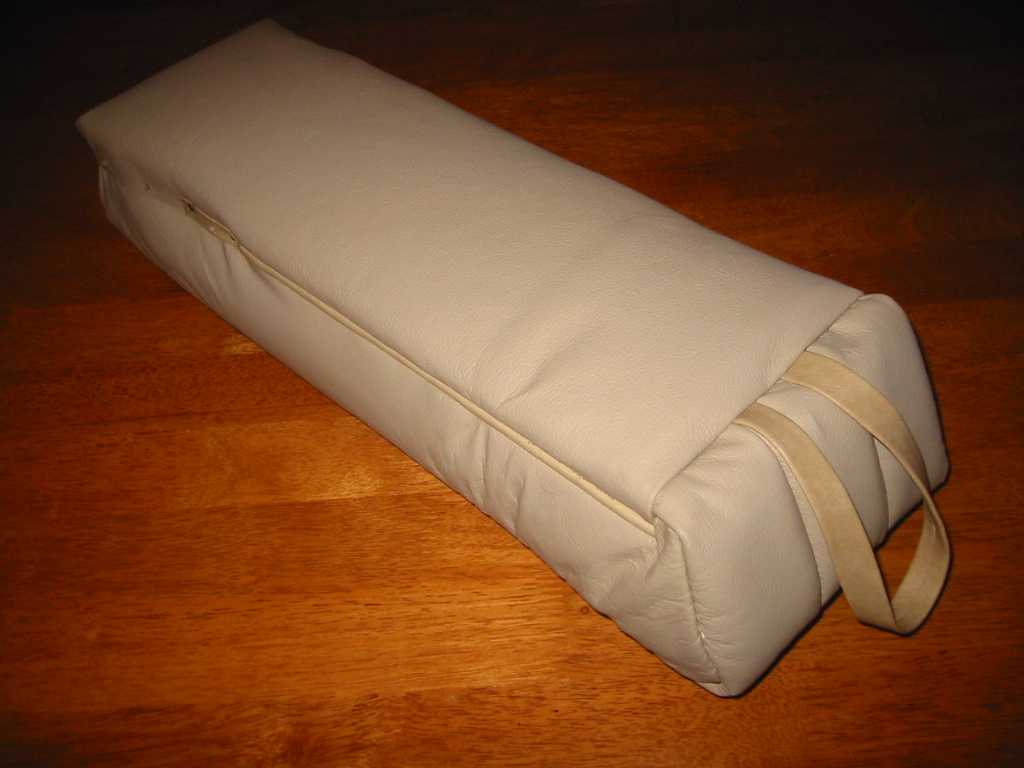
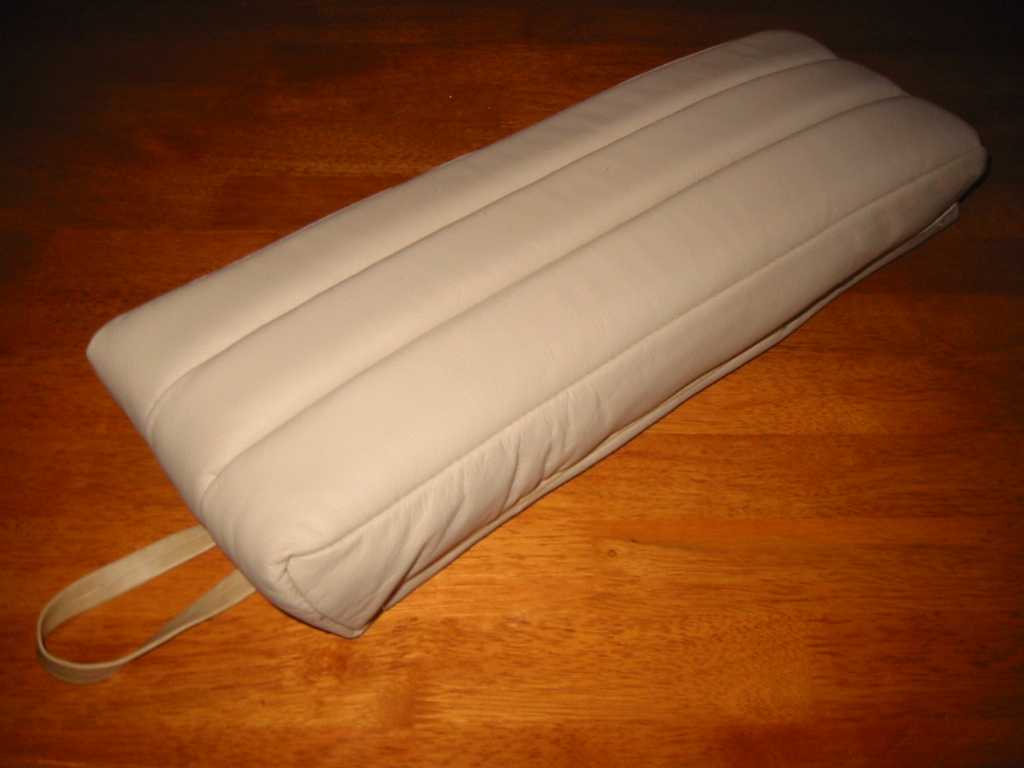
The armrest with a new leather. It was pretty difficult. For some reason the strap supplied was too short, I made another one from vinyl, which is slightly different color but the difference is not as visible in real life than in these flash pictures. The hinges are under repaint, so missing from these pictures.


Passenger front seat did not have none of the original shaped foam left and had very roughly cut foam in it. I rounded edges and added thin foam to outer areas. But as the books say, making the original shape is very difficult...
The back rest of passenger seat had original shaped foam but the center area was repalaced. Not a problem as the center part is just plain straight piece. I added thin foam here too and stapled/glued new cover on. With tensioning the pleated area thorugh springs to wooden frame, by thin strips provided in the new cover.
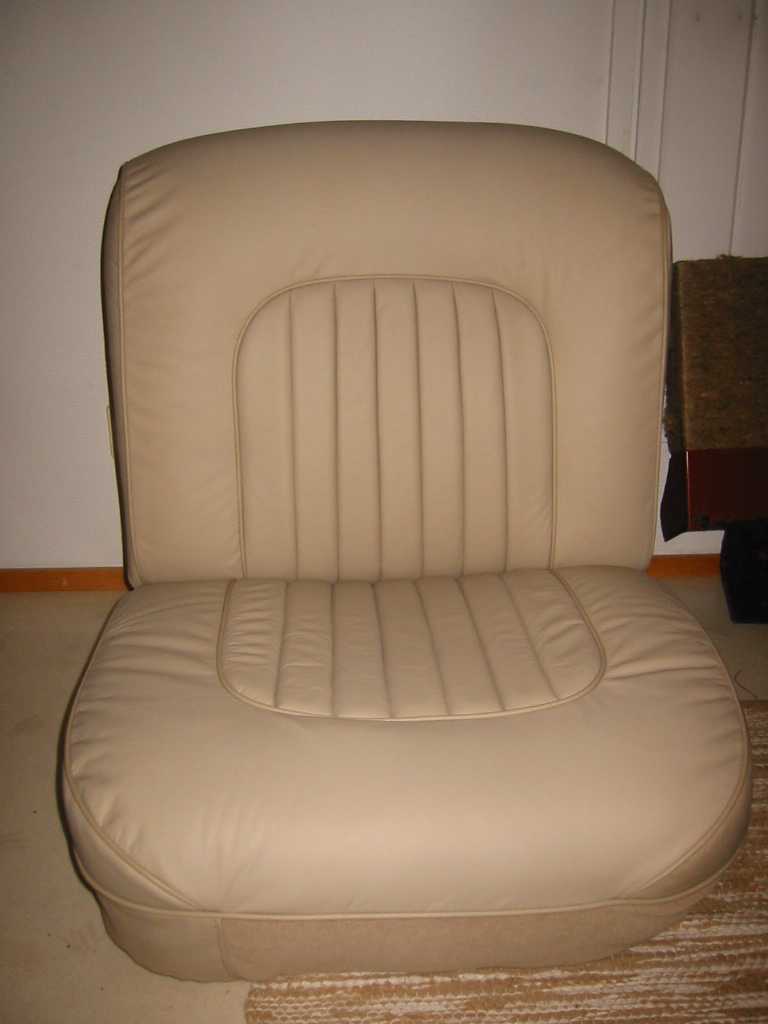
Here is passenger seat redone. Still needs back cover and picnic tables to be done. Some wrinkles, but not too bad. I think I can accept this one.
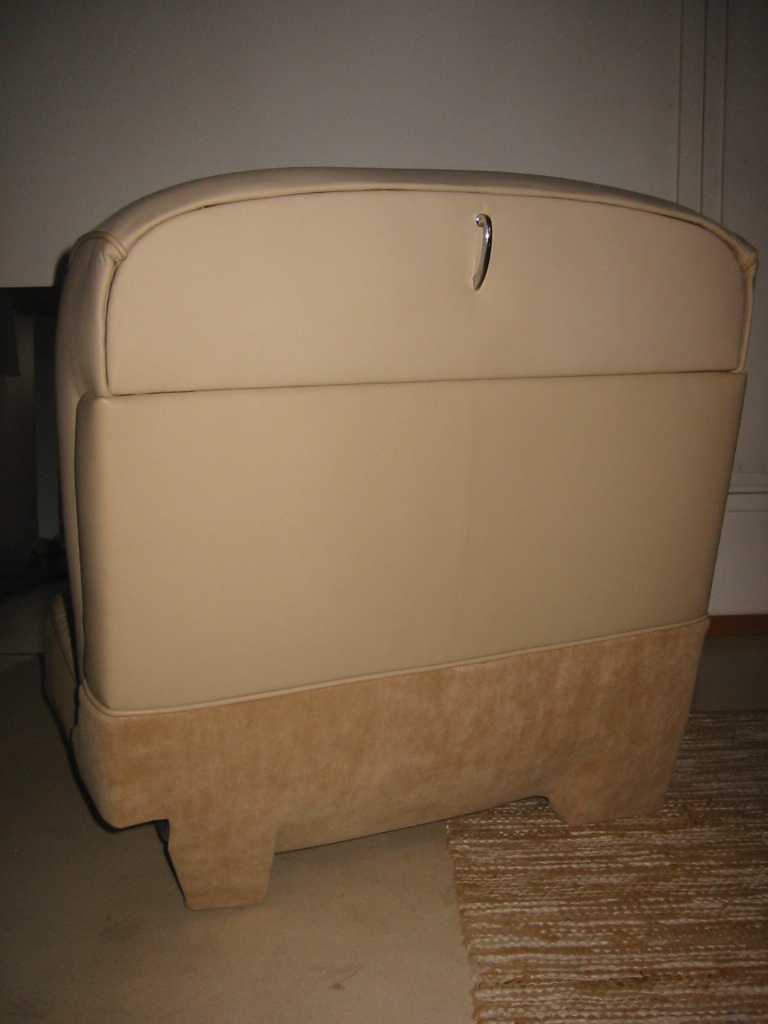
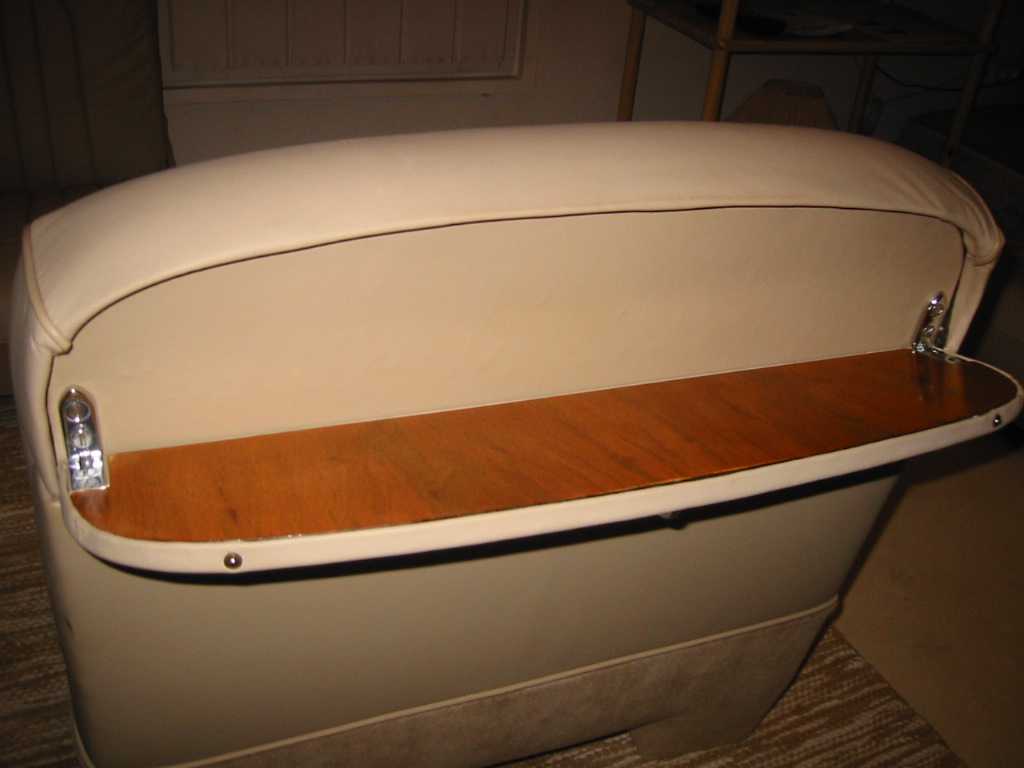
Passenger seat from behind. And picnic table, revarnished.
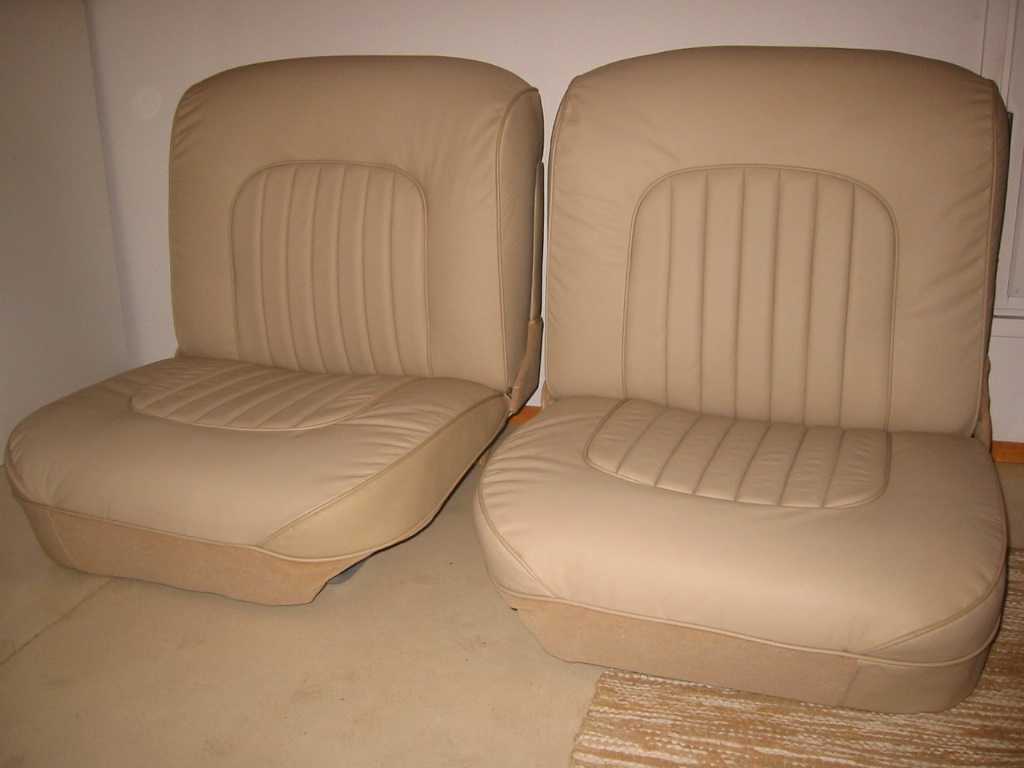
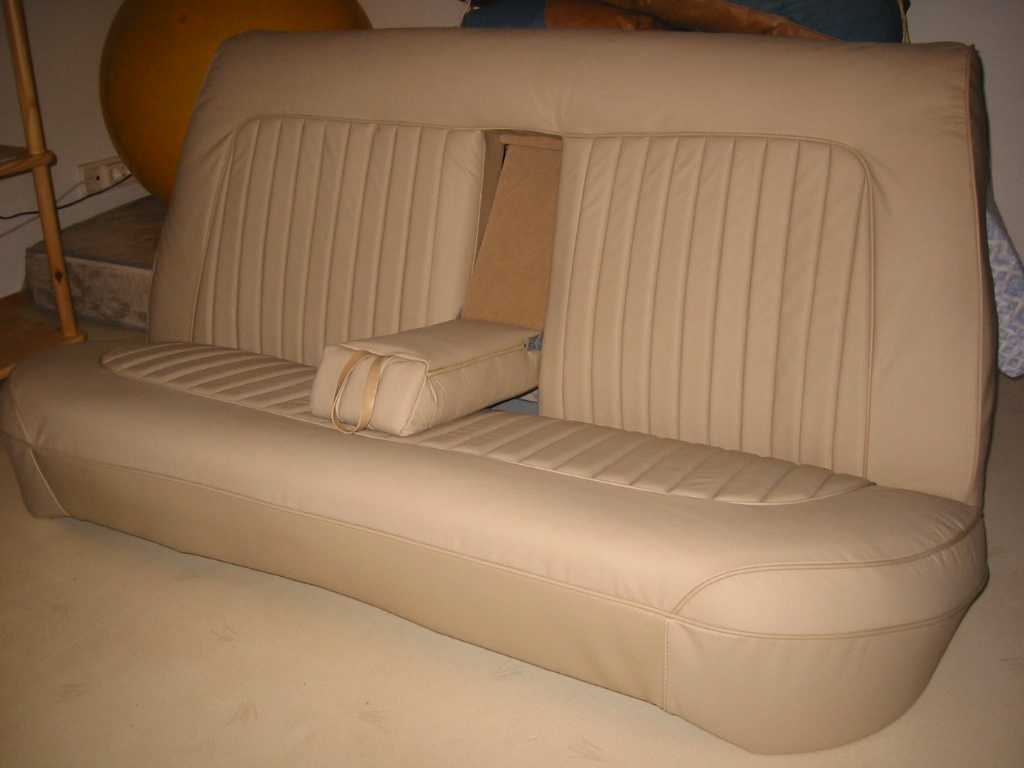
And here are front and back seats
in as good shape as I can manage. Maybe a professional upholster could have done better but these are fine for me. Now I need some Connolly Leather Cream or something to treat the leather.
And of course install the seats back.
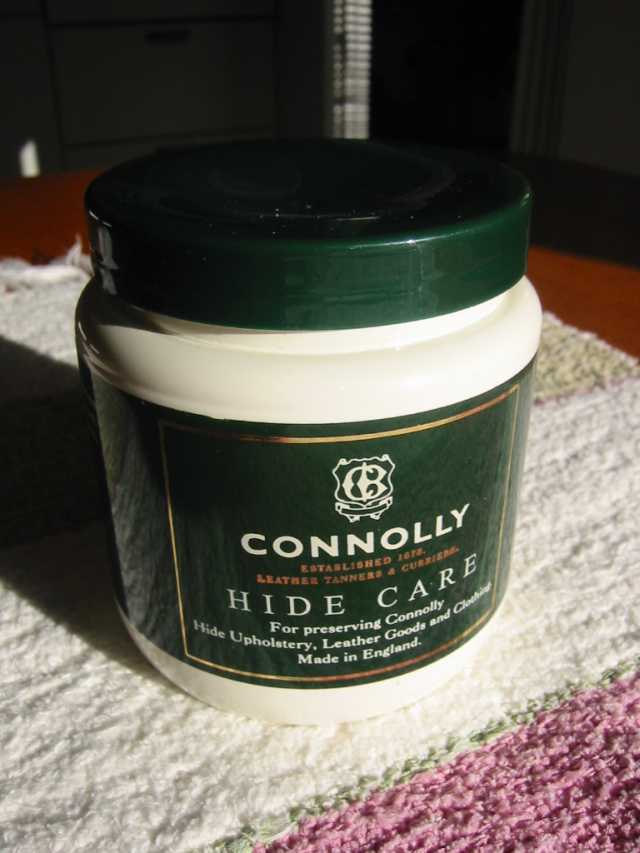
What else could be a proper leather care for Jaguar than Connolly? :)
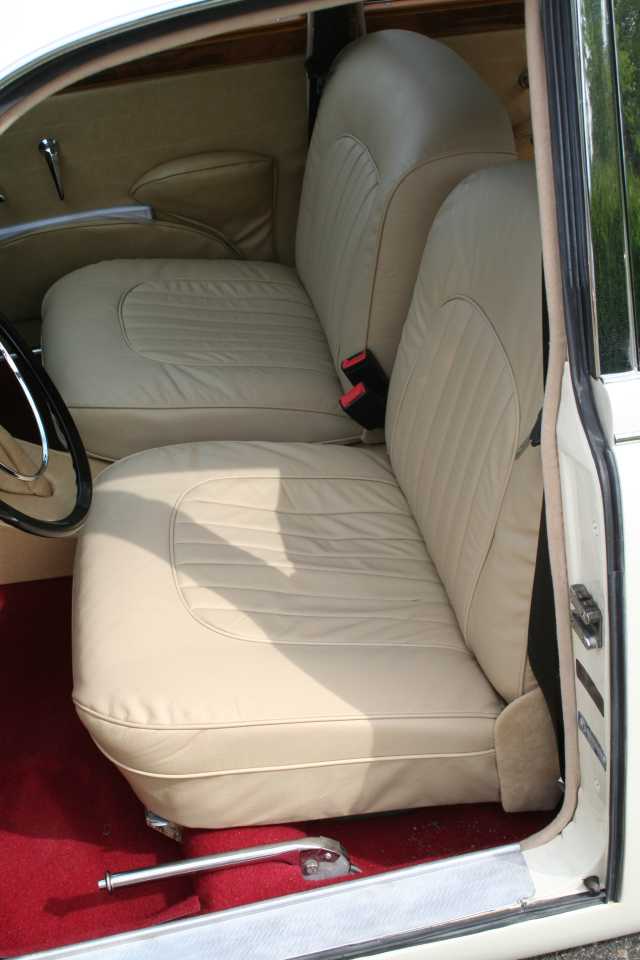
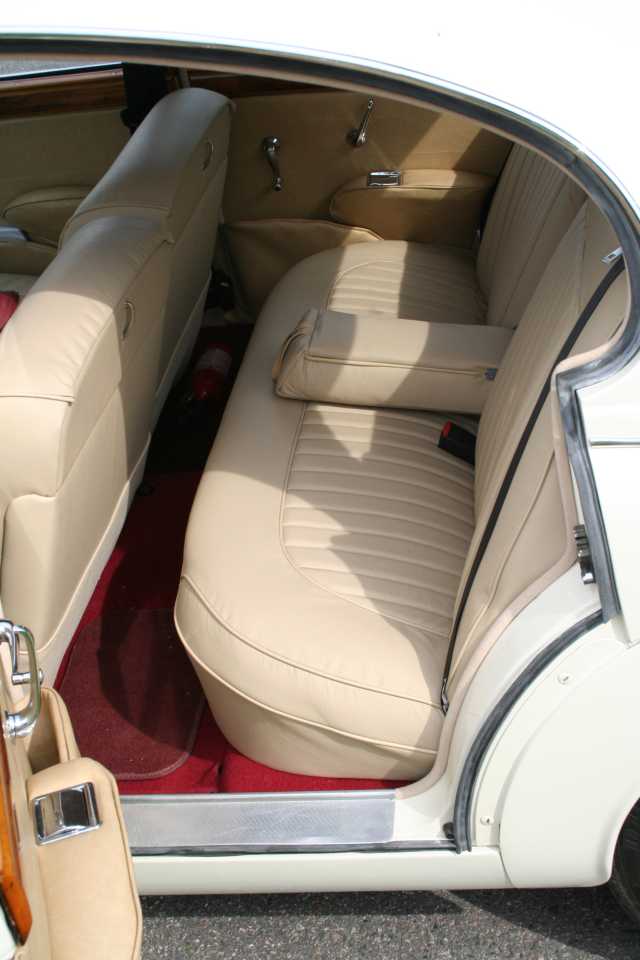
And here are the seats back in car. The camera exaccerates the color difference to door panels, for human eye they are almost the same color. At least for my eye...